My husband and I love bread! We eat it with pasta, with soup, and we are always eating toast in the morning. Talk about carbs! So, with that being said I thought I should try and make my own at home. This way, I know what is going in it while feeling a sense of pride for accomplishing what some claim to be a tough job (and it definitely is). Here is a recipe I follow from King Arthur Flour.

Starter
- 1 cup cool to lukewarm water (90°F to 100°F)
- 1/2 teaspoon active dry or instant yeast
- 1 1/4 cups unbleached bread flour
- 1/4 cup (1 ounce) white whole wheat flour or premium whole wheat flour
- 1 Mimosa (optional)
Dough
- all of the starter (above)
- 1 cup lukewarm water (100°F to 115°F)
- 3/4 teaspoon active dry or 1/2 teaspoon instant yeast
- 1 tablespoon sugar
- 3 3/4 to 4 cups unbleached bread flour
- 1 1/2 to 2 1/4 teaspoons salt, to taste
Instructions
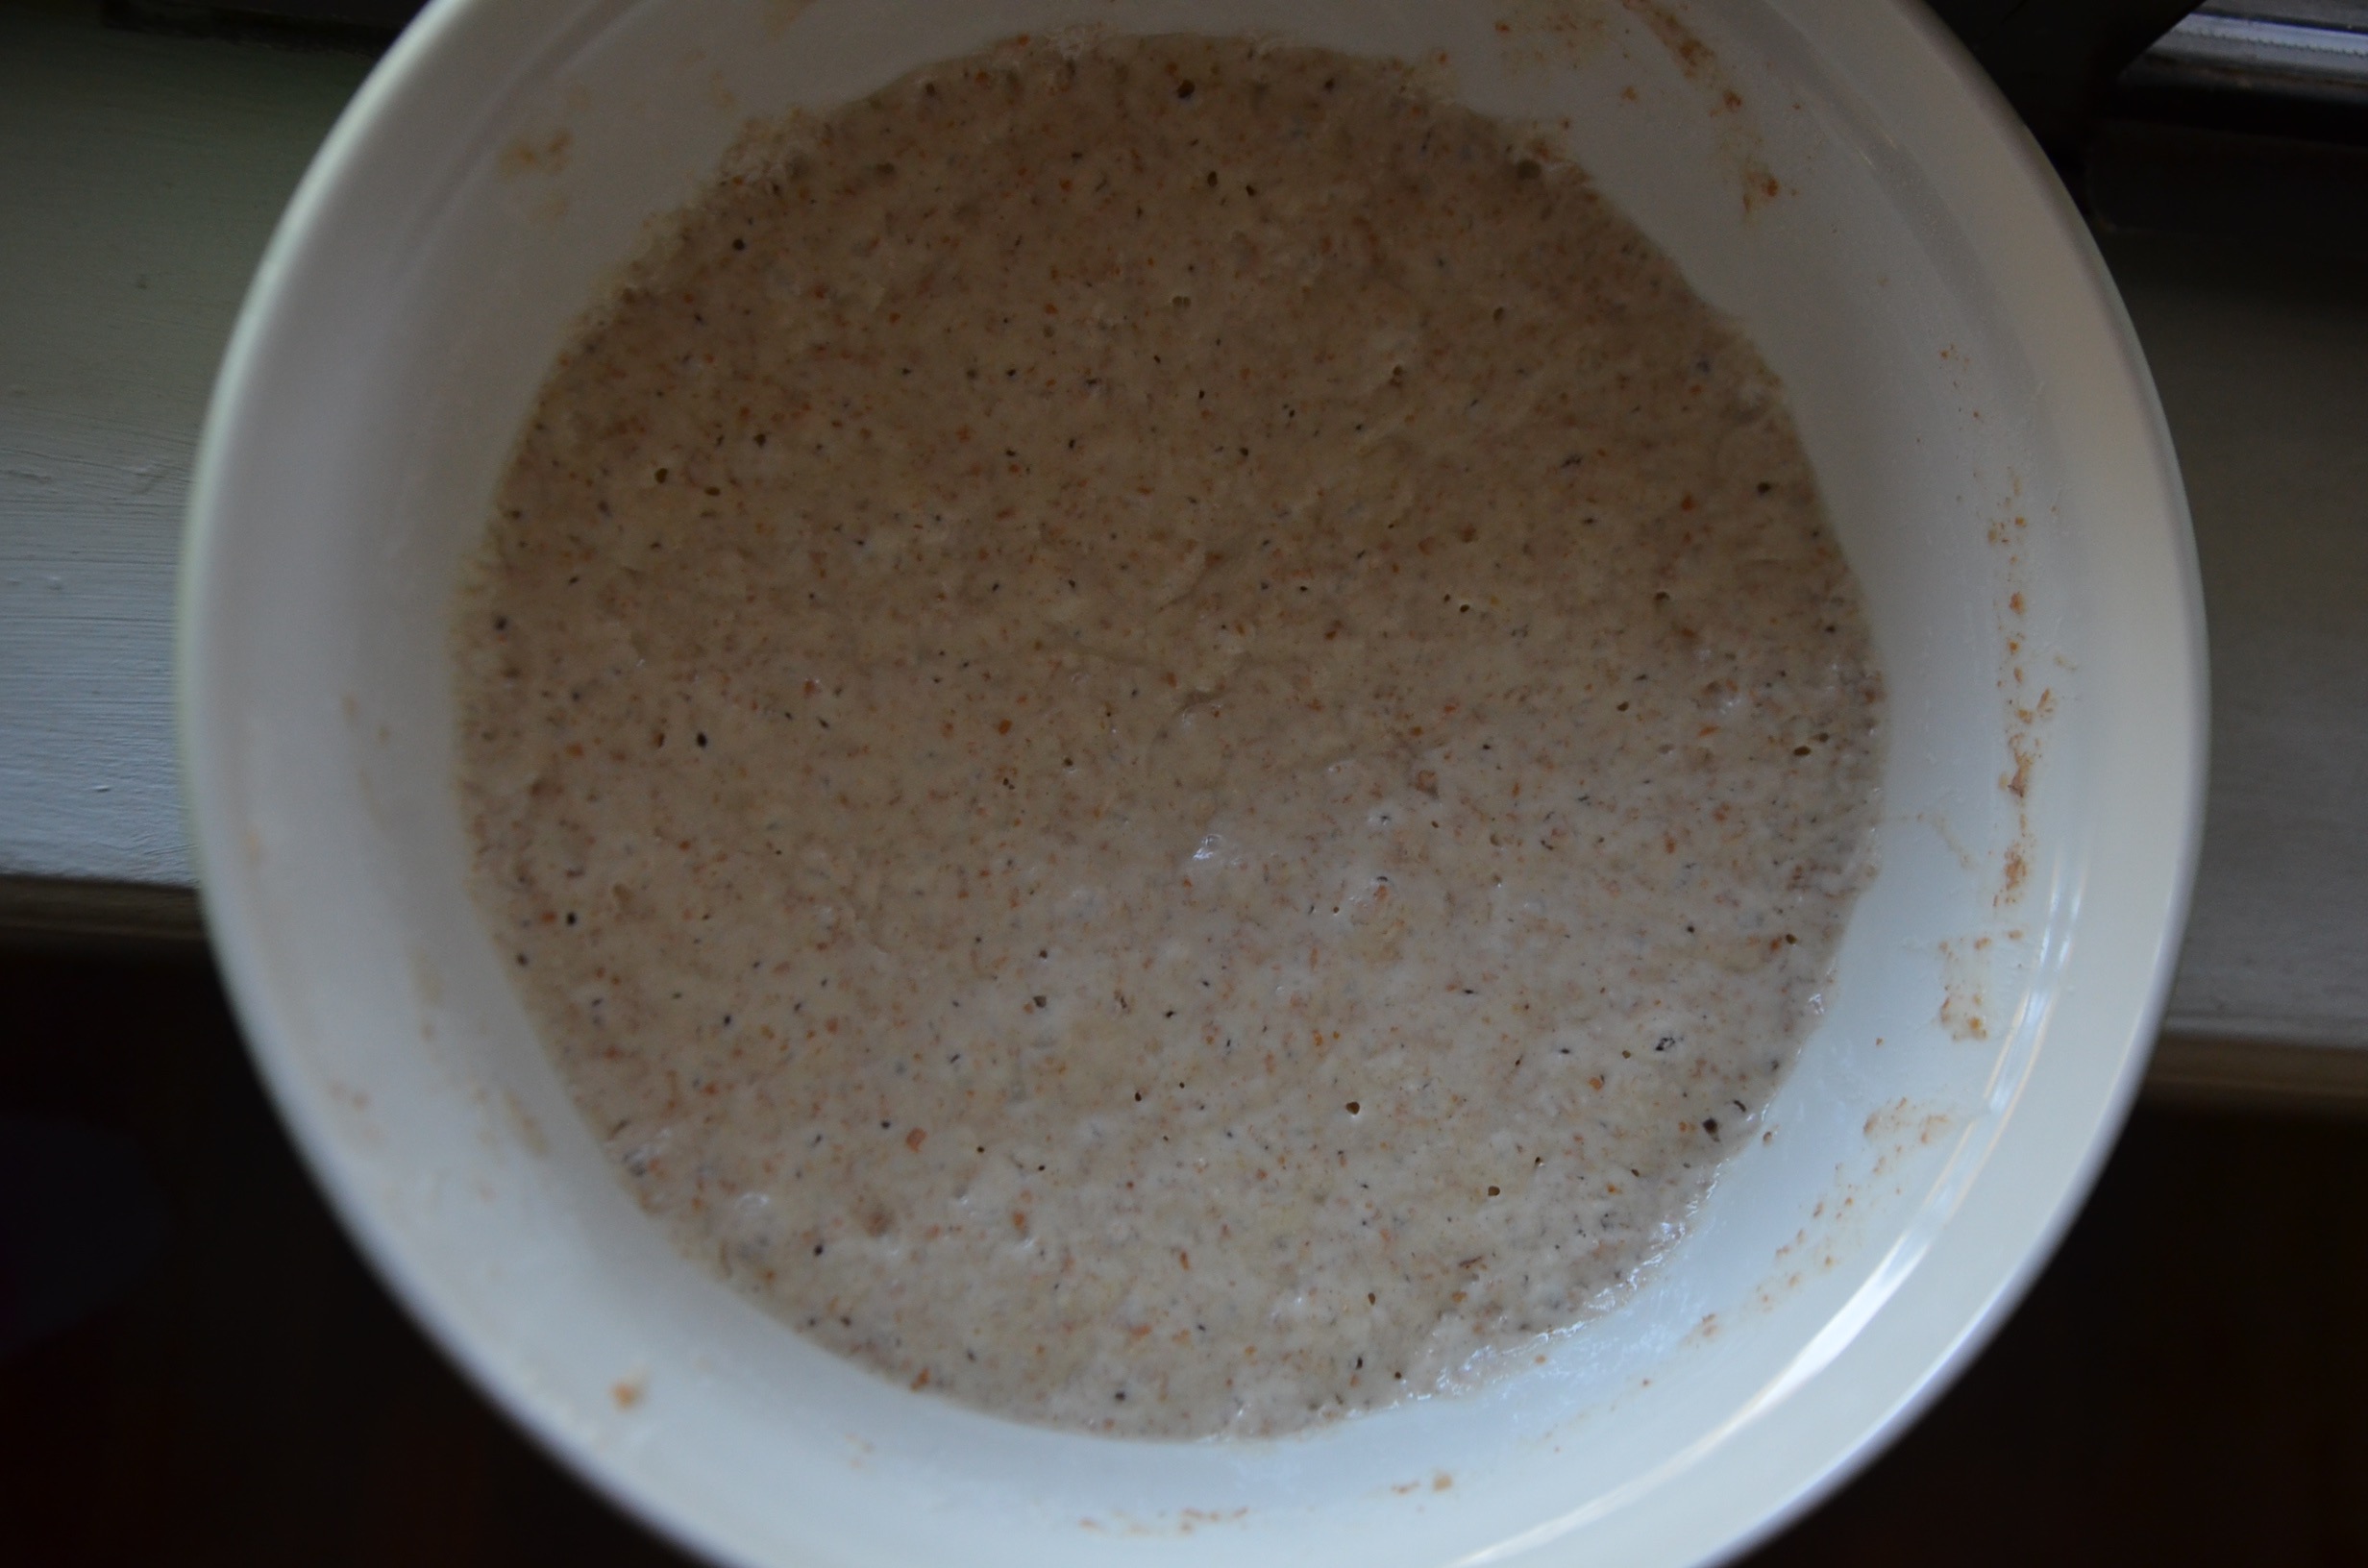
- To make the starter: Stir all of the starter ingredients together to make a thick, pudding-like mixture. Cover with plastic wrap and let it rest for at least 2 hours. For best flavor, let the starter rest longer; overnight (up to 16 hours) is best. How'd that mimosa get there?!?
- To make the dough: Stir down the starter with a spoon and add the water, yeast, sugar, 3 1/4 cups of the flour, and the salt (I add 2 1/2 teaspoons of salt for a better taste). The dough will be a loose, messy mass. Let it rest for 12 to 15 minutes, then stir it again; it should become more cohesive and a bit smoother. Dough handles better once it's had time for the flour to absorb the water while resting and relaxing. By using this method, you'll tend to add less flour, and have much bigger holes in your finished bread.
- Knead the dough, adding more flour as necessary, to make a soft dough, 10 to 12 minutes (or 3-5 minutes in a stand mixer with a dough hook).
- Place the dough in a lightly greased bowl or plastic container, cover with lightly greased plastic wrap, and let it rise until almost doubled (this could be 1 to 2 hours). If you're going out, or if you prefer, let the dough rise slowly in the fridge. If your dough has been refrigerated, allow it to come to room temperature before shaping; it'll warm up and rise at the same time.
- Deflate the dough gently, but don't knock out all the air; this will create those "holes" so important to French bread. For one large loaf, form the dough into a round ball; for two loaves, divide the dough in half and shape into two balls.
- Place a cornmeal-dusted piece of parchment paper onto a baking sheet (I use my dutch oven). Gently place the ball(s) of dough on the baking sheet (or dutch oven), seam-side down.
- Cover the bread gently with lightly greased plastic wrap, and let it rise until it's puffy and about 40% to 50% larger, anywhere from 45 to 90 minutes.
- Preheat your oven to 475°F.
- Slash or cross-hatch the bread with a sharp knife or lame. Dust it with a little flour. Spritz water into the oven with a clean plant mister, and place the bread in the oven. Reduce the heat to 425°F and spritz with water every few minutes for the first 15 minutes of baking.
- Bake the bread for about 25 to 30 minutes, or until it's a rich golden brown, and its interior temperature registers at least 190°F on a digital thermometer. The smaller loaves will bake more quickly, so keep your eye on them.
- Remove the bread from the oven, and cool it on a rack. Store bread, loosely wrapped in paper, for a couple of days at room temperature; wrap it in plastic and freeze for longer storage.
- Yield: 1 large or 2 medium loaves.
Enjoy!